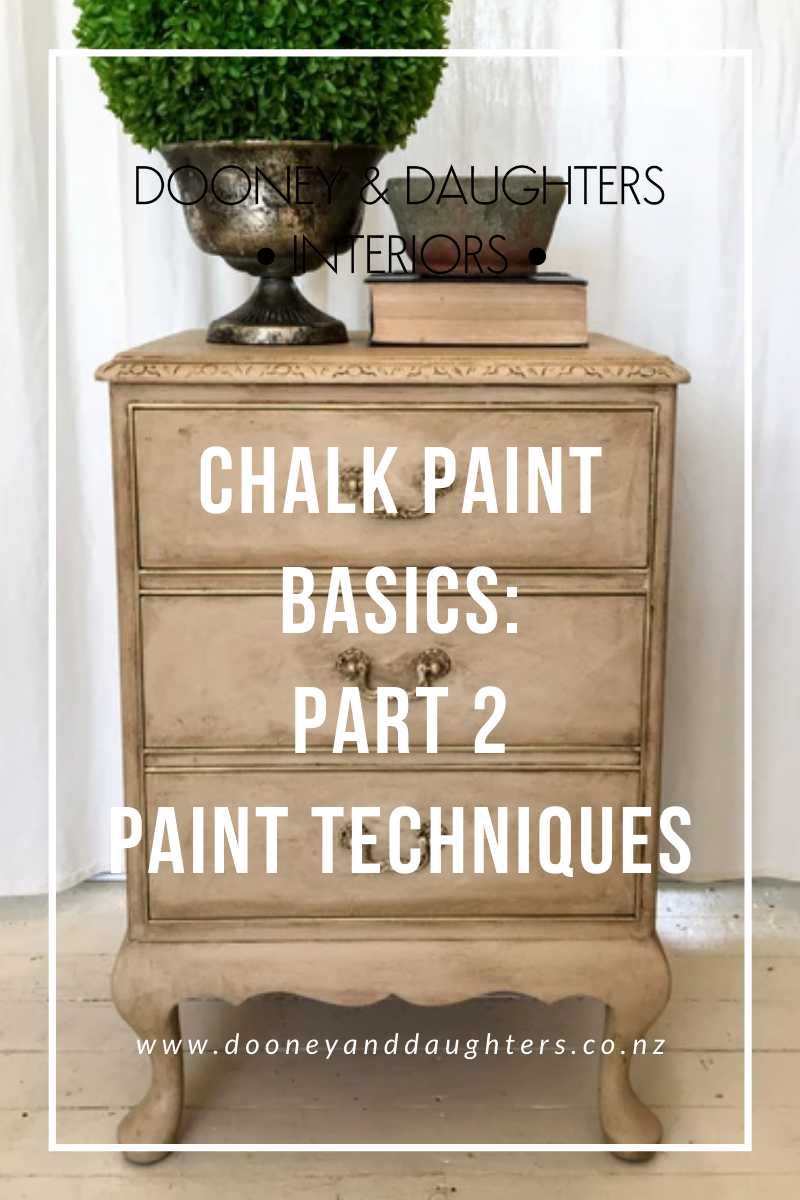
Chalk Paint Basics Part 2 - Different Paint Techniques
In part two of our chalk paint basics series, we show how to create different finishes using The Artisan Company premium chalk paint and Velvet Luxe with our Staalmeester brushes.
Check out part one for an intro to chalk paint and some answers to some basic questions.

Creating A Smooth Finish With Premium Chalk Paint
The first finish we discussed was how to achieve a smooth finish when using our premium chalk paint.
For all smooth finishes we recommend using a flat brush and painting in the direction of the grain. If you have any texture, lightly sand between coats with a fine grit sandpaper. If you need to apply a second coat, add a touch of water and stir well. Seal with clear wax or lacquer.

Creating A Smooth Finish With Velvet Luxe
Our Velvet Luxe hybrid-chalk paint is perfect for a smooth finish. With self-levelling properties it's designed to give a flat, matte finish with no fuss.
Paint with a flat brush, again following the direction of the grain. Paint two coats and you're done. Velvet Luxe has the lacquer built in, so no need to seal.

Creating Subtle Texture With Premium Chalk Paint
This is one of our favourite paint techniques and what we use most often. It's super flattering to use on old furniture as it can hide any dents or scratches.
Paint straight from the can with a round synthetic brush, we love the Staalmeester pro-hybrid brushes. Paint in large crosses, lightly feathering off any excess paint. Paint one to two coats as needed.

Creating Rustic Texture With Premium Chalk Paint
This is a great technique to create a statement piece of furniture! Use multiple colours and layer it up with coloured waxes.
Use a natural bristle brush, we love the Staalmeester one. Load up your brush with lots of paint and paint in all directions, we call this painting like a four year old! Let the paint start to dry and keep working it, stipling and over brushing, the more texture the better! Seal with dark or coloured waxes to really show off the texture.

Facebook Live
Watch our Facebook Live for more info and to see these techniques in action.
Watch our follow up video where we show the finished samples in the different techniques, a much easier way to see how each finish looks!
See All Of Our Chalk Paint Basics Series Here
Chalk Paint Basics Part 1 - Introducing The Artisan Company Premium Chalk Paint
Chalk Paint Basics Part 2 - Paint Techniques
Chalk Paint Basics Part 3 - Clear Wax, Dark Wax & Lacquer
Chalk Paint Basics Part 4 - Coloured Wax
Chalk Paint Basics Part 5 - Distressing & Gilding Wax
Previous Series
Check out our Decoupage Basics series!

