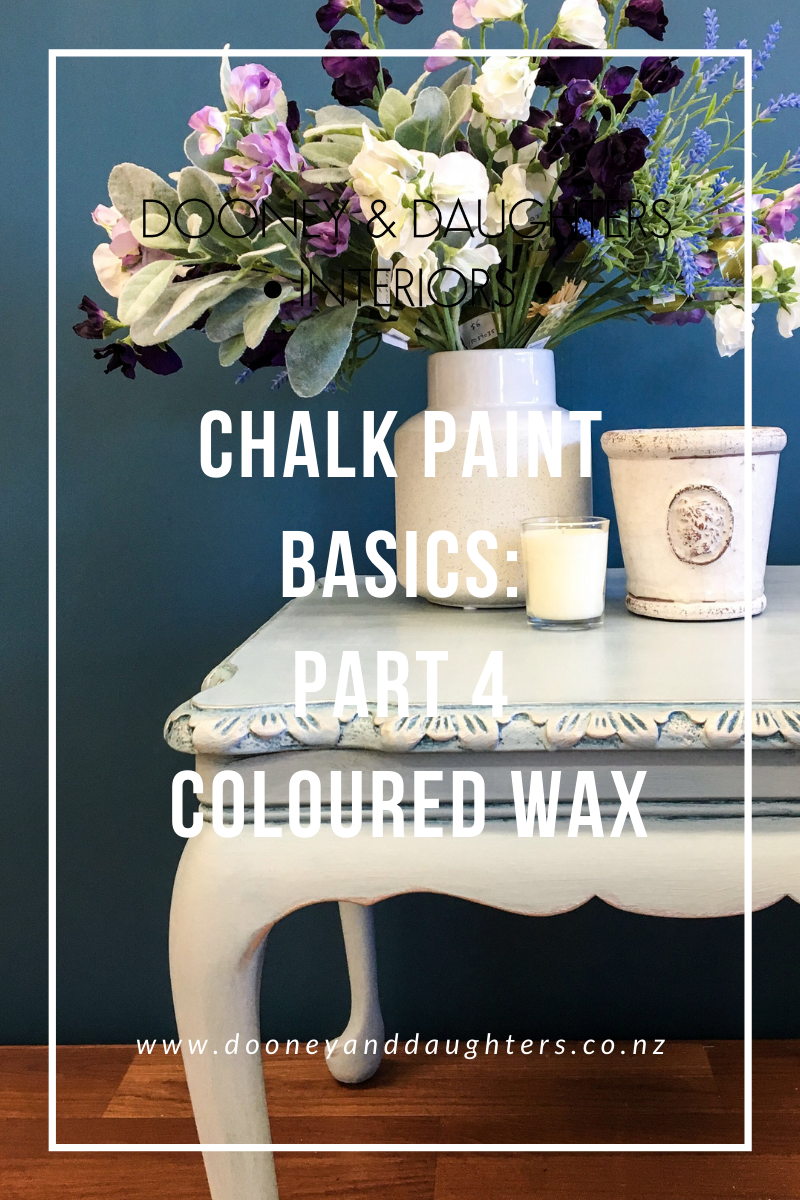
Chalk Paint Basics Part 4 - Coloured Wax
In part four of our chalk paint basics series we talk about how to make your own coloured waxes and how to layer them.
Please note that this can't be done with all chalk paint systems and is something that is unique to The Artisan Company and Vintro chalk paint.
Make sure to check out part one for an intro to chalk paint and some answers to some basic questions, part two where we talked about different paint techniques, and part three where we talked about how to use clear and dark wax and our lacquers.

Why Use Coloured Wax
How To Make Coloured Wax
- Use a flat surface. We like to use old ceramic plates or baking paper. This allows you to mix your paint and wax well without ending up with any paint swirls.
- Decant some of your clear wax onto your flat surace.
- Choose your premium chalk paint colour and give it a good stir.
- Add paint to your wax. You want to add approximately one part wax to one part paint (1:1), or less paint for your first coat.
- Mix your paint and wax well, making sure that there are no swirls or paint or lumps of uncoloured wax.
- Brush on and use like normal!
Tips
- For your first coat you want your coloured wax to still feel waxy, if it feels tacky add more clear wax to your mix.
- You can play around with the ratios, for your first coat don't use more than a 1:1 ratio but you can add less paint to create a lighter wax for a more subtle effect.
- Don't weigh your paint but measure by eye. Our premium chalk paints weigh more than our wax, if you weigh out your ratio you'll end up with too much paint!

Layering Coloured Waxes
This is where you can get super creative!
Once you have sealed your premium chalk paint with your first layer of wax, you can have lots of fun adding other colours to create depth and interest. You might want to add a darker coloured wax near your handles or in any carved details, or a bright coloured wax here and there to pull in other colours that are in your decor.
- Make your coloured wax using the above steps but this time you can make them a bit stronger.
- For each layer of coloured wax add a bit more paint, this way the colour will show up on each layer.
- Use your super fine steel wool to blend the layers together.
- You can do as many coloured waxes as you want, the sky is your limit.
- Have fun and don't be scared to try something a bit out there!
Facebook Live
Watch our Facebook Live to see how easy and fun it is to make the coloured waxes in person.
See All Of Our Chalk Paint Basics Series Here
Chalk Paint Basics Part 1 - Introducing The Artisan Company Premium Chalk Paint
Chalk Paint Basics Part 2 - Paint Techniques
Chalk Paint Basics Part 3 - Clear Wax, Dark Wax & Lacquer
Chalk Paint Basics Part 4 - Coloured Wax
Chalk Paint Basics Part 5 - Distressing & Gilding Wax
Previous Series
Check out our Decoupage Basics series!