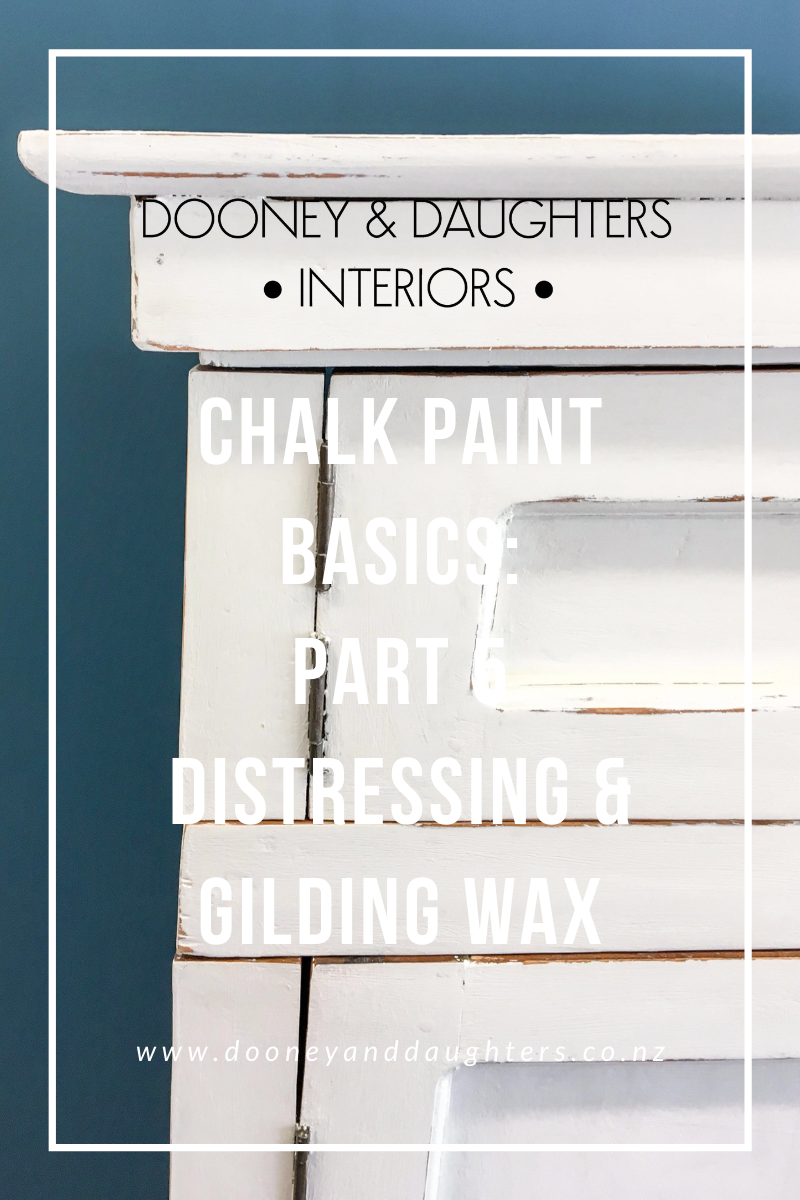
Chalk Paint Basics Part 5 - Distressing & Gilding Wax
In the final part of our Chalk Paint Basics series, we talk about a few different finishing touches.
Make sure to check out part one for an intro to chalk paint and some answers to some basic questions, part two where we talked about different paint techniques, part three where we talked about how to use clear and dark wax and our lacquers and part four where we demonstrated how to make your own coloured waxes.

How To Distress
- Paint as normal.
- Use fine grit sandpaper (we like 240 grit) to gently sand the paint. We focus on edges, feet and other areas that would naturally wear.
- Once you're happy with the amount sanded back, seal with wax or lacquer as normal.
Tips
- Lightly sand to see where the paint naturally comes off and then focus on that section.
- Make sure to check the piece as a whole regularly so that you don't distress one area too much.
- Don't be too 'matchy'. Think about natural wear and don't make it too symmetrical or even, i.e. one leg or corner might be more distressed in another.
- If you are doing a two-colour distress, paint your base colour with lots of texture and then your top coat can be watered down as it doesn't need full coverage. This way you'll get more of your bottom colour coming through.

Gilding Wax
Gilding wax is a favourite of ours! We find that it's a great way to pull the final paint finish together.
- A little goes a long way! Apply with your finger or a detail brush.
- If you make a mistake, use your clear wax to remove it.
- For a burnished look, pull it back with super fine steel wool.
- You can buff your gilding wax for more shine. Just give it a day or so to harden first.
- Mix your waxes to create your own colours. Gold and silver gilding can make a beautiful champage gold colour.
- If your wax dries out, rub it between your fingers before using or add a small amount of clear wax to it.
Remember that gilding wax is always the last step. Use it over your clear, dark or coloured waxes, and lacquers, you can also use it over your Velvet Luxe chalk paint.
Facebook Live
Watch our Facebook Live to see how to distress and use gilding wax.
See All Of Our Chalk Paint Basics Series Here
Chalk Paint Basics Part 1 - Introducing The Artisan Company Premium Chalk Paint
Chalk Paint Basics Part 2 - Paint Techniques
Chalk Paint Basics Part 3 - Clear Wax, Dark Wax & Lacquer
Chalk Paint Basics Part 4 - Coloured Wax
Chalk Paint Basics Part 5 - Distressing & Gilding Wax
Previous Series
Check out our Decoupage Basics series!