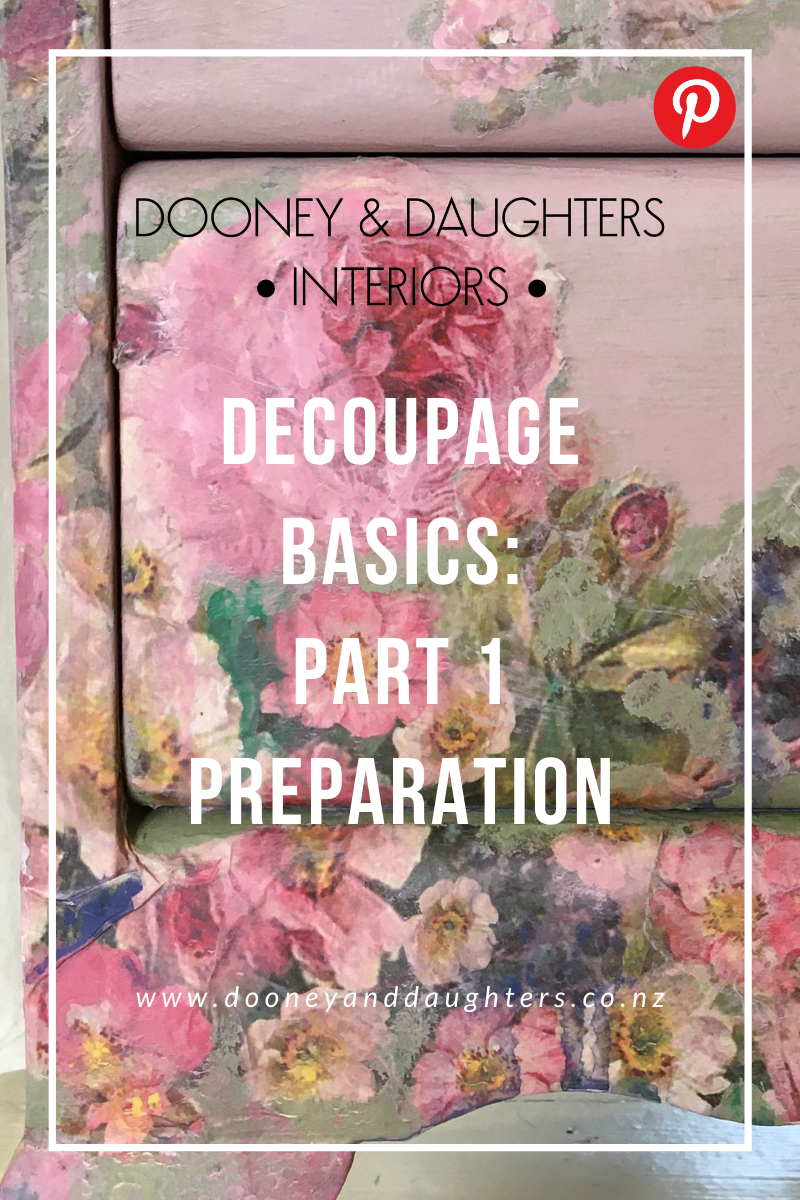
Decoupage Basics: Part 1 Preparation
I don't think it would be a surprise to anyone to say that we love decoupage! So we thought we'd share some of our tips and tricks over the next few weeks both on Facebook as Live's and on here.

To start we're talking about preparation and the different types of papers that we use and sell. We've also added our full Facebook Live video for you to watch below.
Types of Decoupage Papers
Napkins - Napkins are great for smaller projects or when you want to create your own designs. Start by removing the back layers, usually one or two layers of plain white tissue, so that you just have the one layer left of your design.
If you don't want to use the whole image, gently tear around the sections you do want to use. By tearing you create a more natural edge than you would when cutting with scissors, this makes it much easier to blend later on.
Napkins are very delicate to use so make sure to be gentle with them.
Rice Paper - Rice papers are a great alternative to napkins. They're stronger and give you more freedom to play than a napkin does.
Once again, if you don't want to use the full design or if it doesn't fit perfectly on your piece, gently tear out the images that you want to use in the same way you would for the napkins.
Italian Wrapping Papers - The Italian wrapping papers are great for small projects or for when you want to cover one entire piece.
We've been using them on tiles to create decorative trivets and they look amazing. They are thicker than other options so make sure to glue all edges down fully.
Mulberry Paper - Mulberry papers are designed to be used on furniture and have beautiful, vibrant images. Great to use across the front or on the top of a piece of furniture.
These are thicker and feel like fabric. They're a great beginner paper as they don't tear easily when placing them and seal nice and hard.
Mint Decoupage Papers - The Mint papers have been designed to use on furniture and with A1 and A3 sizes, they are make a great statement piece.
These don't need any paper preparation and the end result is a traditional decoupage look.

Prepping Your Project
We always recommend decoupaging onto a white or pale surface. By painting with a light colour it will help the colour in your decoupage papers to pop!
We tend to use white or very light grey as our base, but any pale colour will work. Don't worry if it's not your final colour, in part 3 we'll talk about finishing and blending your paint finish.
Before decoupaging, make sure the paint finish is smooth, if needed lightly sand any lumps and bumps out. Clean off any dust and then you're ready to start.
Facebook Live Video
Watch our Live as we go into further detail about each paper and prep!

