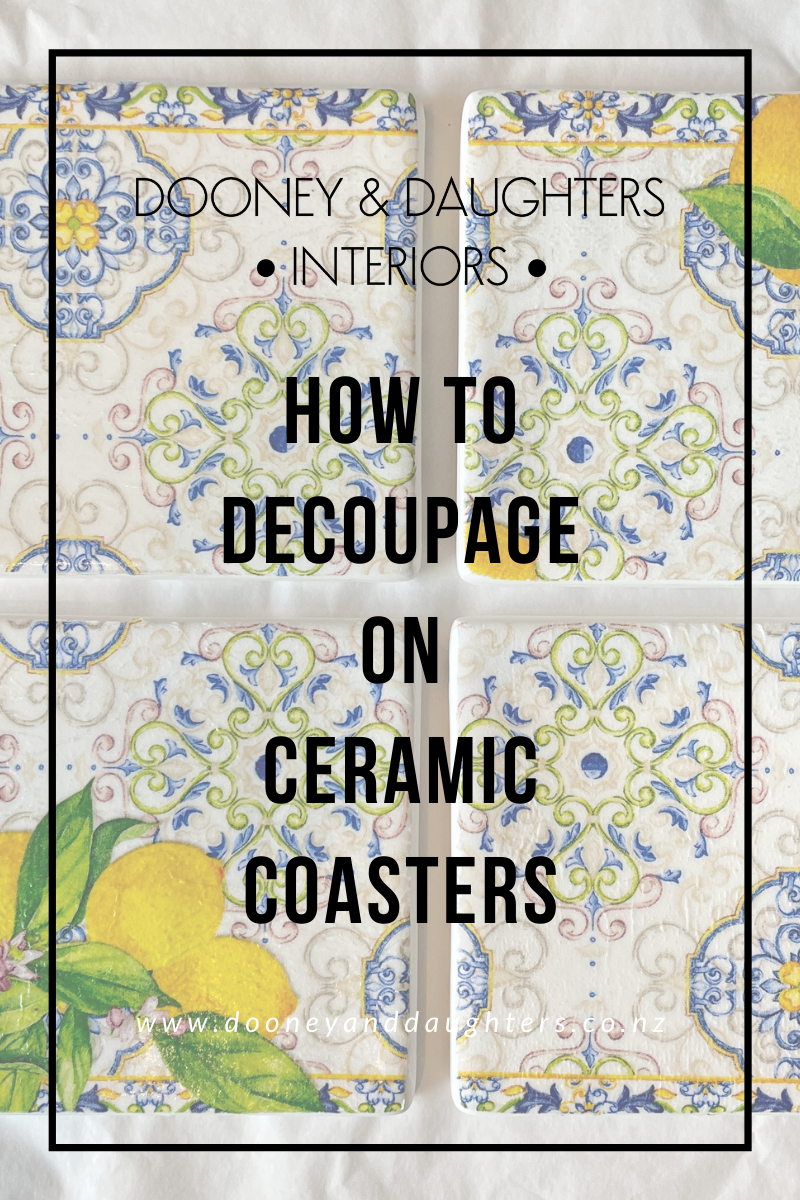
How To Decoupage On Ceramic Coasters
In this blog post we will show you exactly how we decoupage our unglazed ceramic coasters!
Ceramic coasters are easy to decoupage and make a fantastic and personal gift.
Make sure to watch our Facebook Live at the bottom of the page as we show you exactly how we decoupage the ceramic coasters.

What you need to decoupage your ceramic coasters:
- Unglazed Ceramic Coasters
- 2 Napkins
- Lacquer (we used Gloss but all sheens work)
- Flat Brush
- 180 Grit Sandpaper
Step 1:
Peel the back layers off your napkins. Most napkins come in one or two ply, we only want to use the top layer. Tear in half as you will use half a napkin on each coaster.
Step 2:
Stir your lacquer and brush over your coaster (do one at a time). You want a think layer of lacquer but make sure there are no drips down the sides.
Step 3:
Gently place your napkin onto your coaster. We recommend working out the placement before lacquering as once the napkin is down you cannot lift it up.
Step 4:
Pick up more lacquer on your brush and brush it from the middle out to all edges. This will help to remove any bubbles or excess wrinkles.
Note: Brush lightly as you don't want to tear your napkin.
Step 5:
Once fully dry, sand the excess napkin off to give smooth and clean edges. Always sand away from the napkin so you don't pull it up.
Step 6:
Finish with a top coat of lacquer and lacquer the sides and bottom to seal the undecorated parts of your coaster.

That's it! Such a fun and easy project to do. Watch our video below where we demonstrated on Facebook Live exactly what we did.
Further information about decoupage:
- How To Use Mint Decoupage Papers video tutorial
- Different Kinds Of Decoupage Papers blog post
- Decoupage With Napkins blog post
- Decoupage Basics Part 3: Blending & Finishing blog post
- Decoupage Basics Part 2: Glue blog post
- Decoupage Basics Part 1: Preparation blog post

