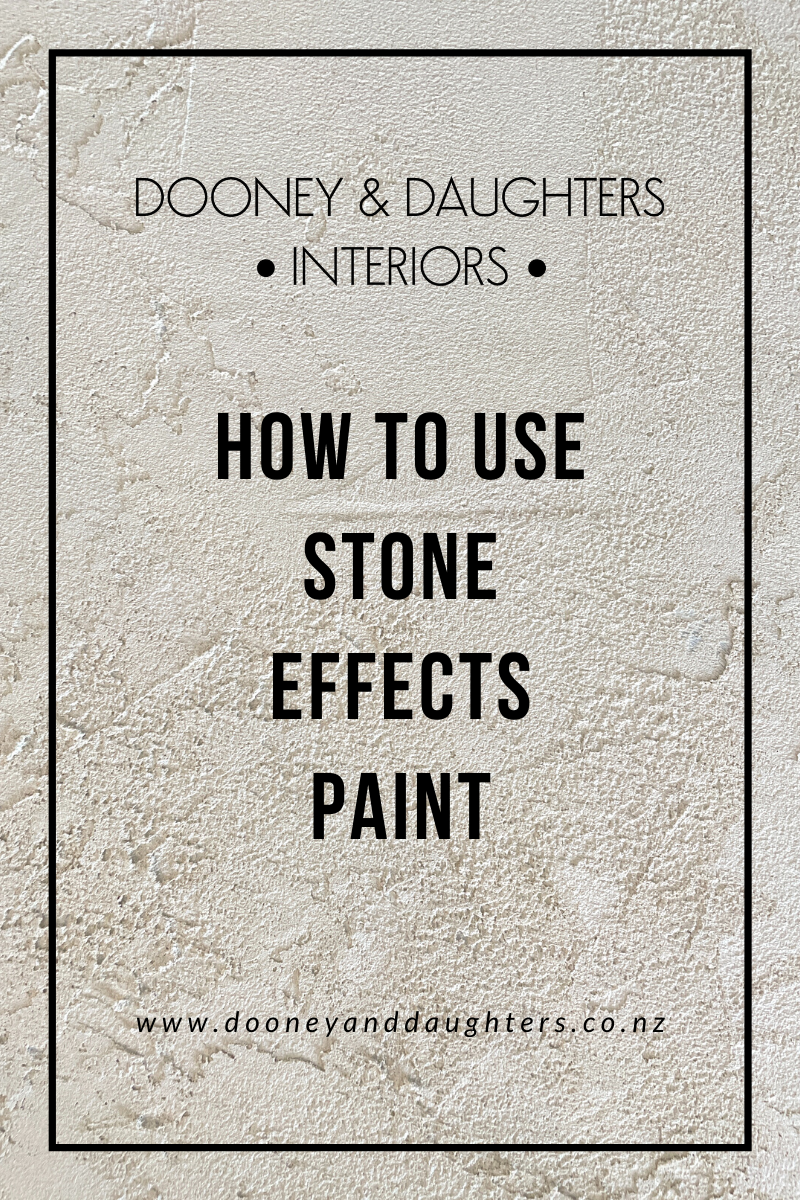
How To Use Stone Effects Paint
In this blog post we will go into detail about how to use Stone Effects paint by The Artisan Company.
Stone Effects paint is an all-in-one paint designed to give plenty of texture to achieve a stone or concrete look on furniture, home décor or walls. In this blog post we will talk about how to apply it using the spreader tools and a flat brush.

1. Prep
Little prep is needed when using Stone Effects paint. Simply clean your piece down and make sure that there is nothing flaking (e.g. old paint or lacquer) and you're good to go.
2. Tools
- Stone Effects paint - in any of the four colours, for this example we used Rustic Rye
- Can Opener - always a good idea to use when opening your paint cans as it keeps your lid even making it easier to put back on properly
- Set of Spreader Tools - the spreader tools are the perfect way to create texture on a large surface
- Flat Brush - in this example we used a 1.5 inch brush for the rounded edges of our table
- French Olive Soap - to clean your brushes.
3. Painting
Now that we're fully prepped it's time to start painting!
Using the large spreader tool, scoop out your Stone Effects paint and spread it out on your surface. You want a reasonably thick coat so you can spread it around once it starts to dry.
Keep applying your Stone Effects paint until fully covered. Use your flat brush on any areas that the tools won't go over, for us this was the curved sides of our table top.
4. Create Texture
If you are happy with your current levels of texture you can skip this step.
Once your Stone Effects paint has started to dry, we waited about 40 - 60 minutes - use the three different sized tools to pull and manipulate the paint.
Try using different sized tools, applying more or less pressure, going in different directions etc. The more you play, the more texture you will create.

5. Finishing
If you are happy with the finish you can skip this step.
Once fully dry you can sand off any excess texture or bits that are loose using a rough to medium grit sandpaper.
Although Stone Effects is an all-in-one paint and does not need to be sealed, you can add a coat or two of lacquer to the finish if you want it to feel smoother to the touch. This can be a nice finish on a table top.
6. Cleaning Your Brush & Tools
Stone Effects is water based. Clean your tools in water while the paint is still wet and leave to air dry. Clean your brush in water and olive soap, leaving it to air dry.

For further information on using Stone Effects paint:
- Introducing Stone Effects blog post
- How To Use Stone Effects on a Table Top video tutorial

