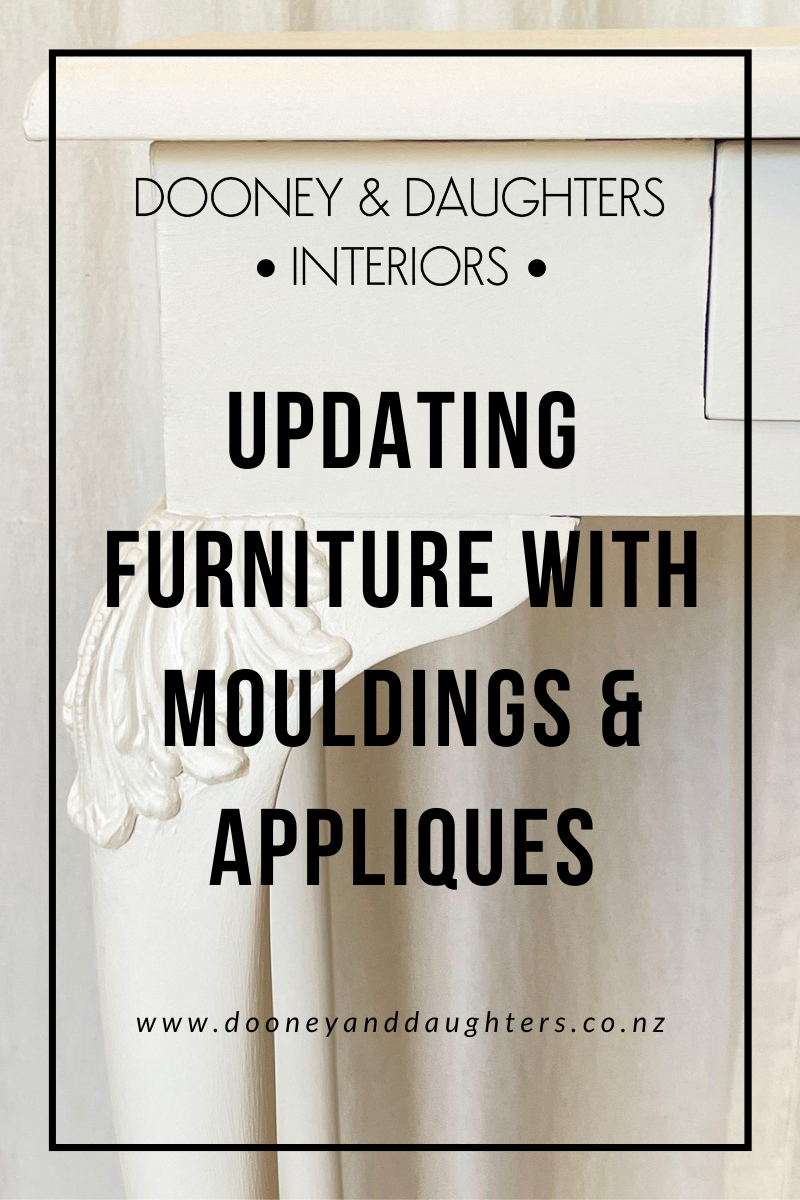
Updating Furniture with Mouldings & Appliques
Mouldings and appliques are a great way to update your furniture. Easy to use, they're super effective and update a simple, modern piece to something with interest and detail.
In this blog post we'll talk about what mouldings and appliques are, what you need to apply them and will provide a step-by-step guide on how to use Efex mouldings.

What are mouldings and appliques?
Mouldings, also known as appliques, are decorative architectural details that are used to embellish a surface. Designed for furniture and home décor pieces, they can transform a simple piece into something striking.
What are Efex mouldings?
We are proud to stock New Zealand's only premium and fully bendable mouldings. Handmade of latex, they are fully flexible and are easily glued to almost any surface, including wood, plaster, metal, glass and terracotta, with contact adhesive.
The designs are taken from real antiques which give them a lovely sense of scale and balance.
Why use mouldings and appliques?
Use mouldings and appliques to enhance and add interest to a straight lined piece of furniture. Using mouldings can allow you to achieve any look or style that you want for your home.
What do you need?
Once you've chosen from our extensive range of mouldings and appliques that can be found here, you will need:
- a pencil or chalk
- Ados F2 Contact Adhesive
- Premium Chalk Paint
Step-by-step guide to using Efex mouldings:
1 - Work out where you want your moulding to go, remember they are fully flexible so can curve around legs and curves on your furniture.

2 - Draw an outline of your moulding with pencil or chalk. Note: Don't use a pen or permanent marker as these can make indents and can show through your paint finish.
3 - Use contact adhesive (Efex recommends Ados F2 Contact Adhesive in NZ). Following the instructions, put the glue along your pencil outline bringing some into the middle, and then do the same to the back of your moulding.

4 - Wait 10 minutes or until the adhesive is tacky but no longer sticks to your fingers when you touch it. Note: check frequently as the timings can change with temperature.
5 - When ready, carefully stick your moulding onto your furniture, making sure that all edges are stuck down. Note: the contact adhesive is very strong and you can't move your moulding once it's been placed, so take your time with this.

6 - Wait 10 or so minutes for your contact adhesive to be fully dry and then paint like normal!

Mouldings and appliques are a fun way to add interest and detail to a simple piece of furniture or home décor. Simple and effective to use, they can be painted over, allowing you to create your own custom finish.
Further Training:
- How To Use Mouldings blog post
- How To Use Efex Mouldings how-to video

