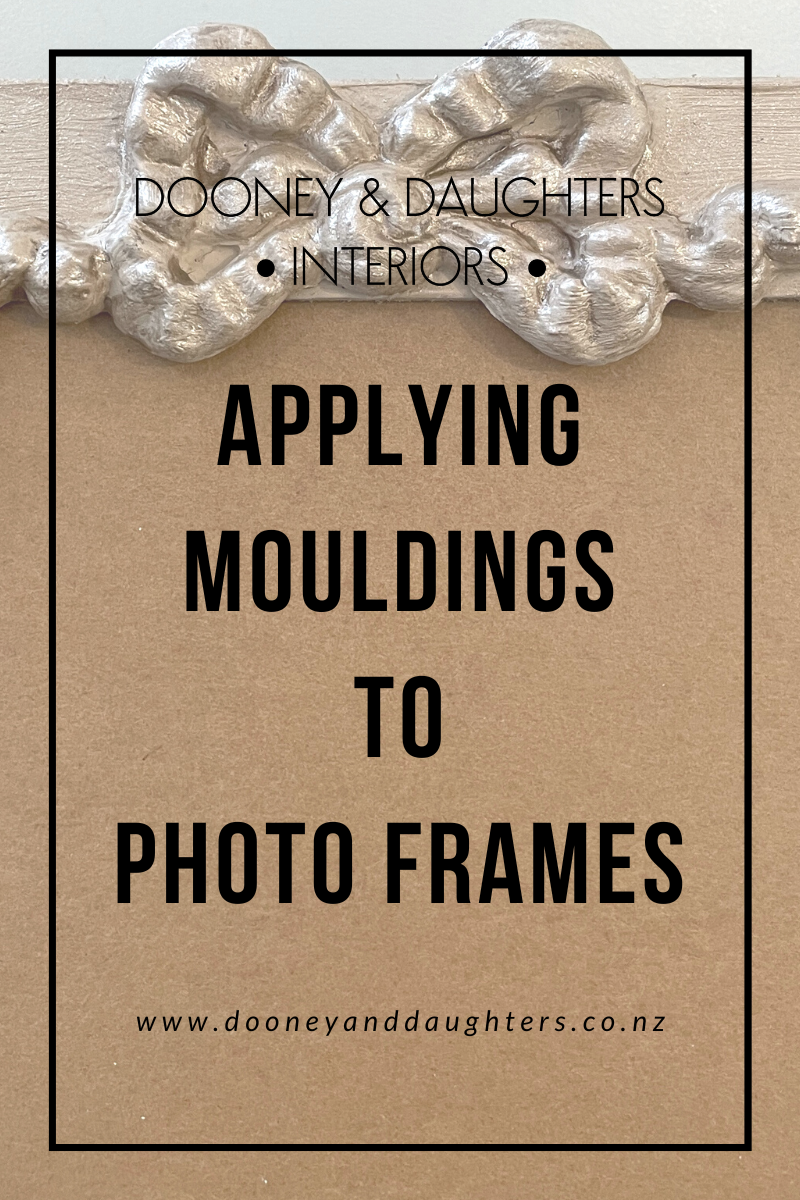
Applying Mouldings To Photo Frames
In this blog post we will show you step-by-step how to apply an Efex moulding to a photo frame.
We love how using mouldings adds extra detail to a simple photo frame. Once painted you can add depth with dark or coloured waxes, or highlight using a gilded wax. They're a great way to create a personal frame that holds your special memories.

Tools Needed:
- Plain Photo Frames - we love using our Simple MDF Photo Frame
- Efex Mouldings - in this example we used the B8 bow and one of the C6 corners
- Ados F2 Contact Adhesive
- Pencil
- Premium Chalk Paint
Instructions:
- Choose your Efex moulding making sure that it will fit your frame. Efex mouldings are made of latex and are bendable so you can adjust or cut it to fit.
- Once you have decided on the placement of your moulding, draw an outline of your moulding onto your frame using pencil.
- Apply your contact adhesive to your pencil outline and the back of your moulding.
- Allow to sit for up to 10 minutes or until the contact adhesive feels tacky (follow your glue manufacturer instructions).
- Apply the moulding to your frame, pressing hard so all edges are down.
- Wait for 10 minutes for the adhesive to dry and then paint like normal!

A: Tools needed.
B: Drawing the outline of the moulding onto my frame.
C: Applying the contact adhesive.
D: Waiting for the contact adhesive to become tacky.
E: Sticking the moulding on, making sure all edges are firmally stuck down.
F: Ready to paint.
Top Tips:
- Use pencil or chalk when outlining your moulding. Ballpoint pens may leave and indent and permanent markers can bleed through your paint finish.
- Decide on placement before applying your contact adhesive as it is hard to remove.
- Wipe any spills as soon as possible.
- Keep the cap of your contact adhesive clean so that it doesn't glue itself together!

Finished and painted mouldings on our photo frames.
More Information:
See our blog posts and video tutorials for more information on how to use Efex mouldings.
- How To Use Efex Mouldings video tutorial
- Efex Mouldings blog posts

