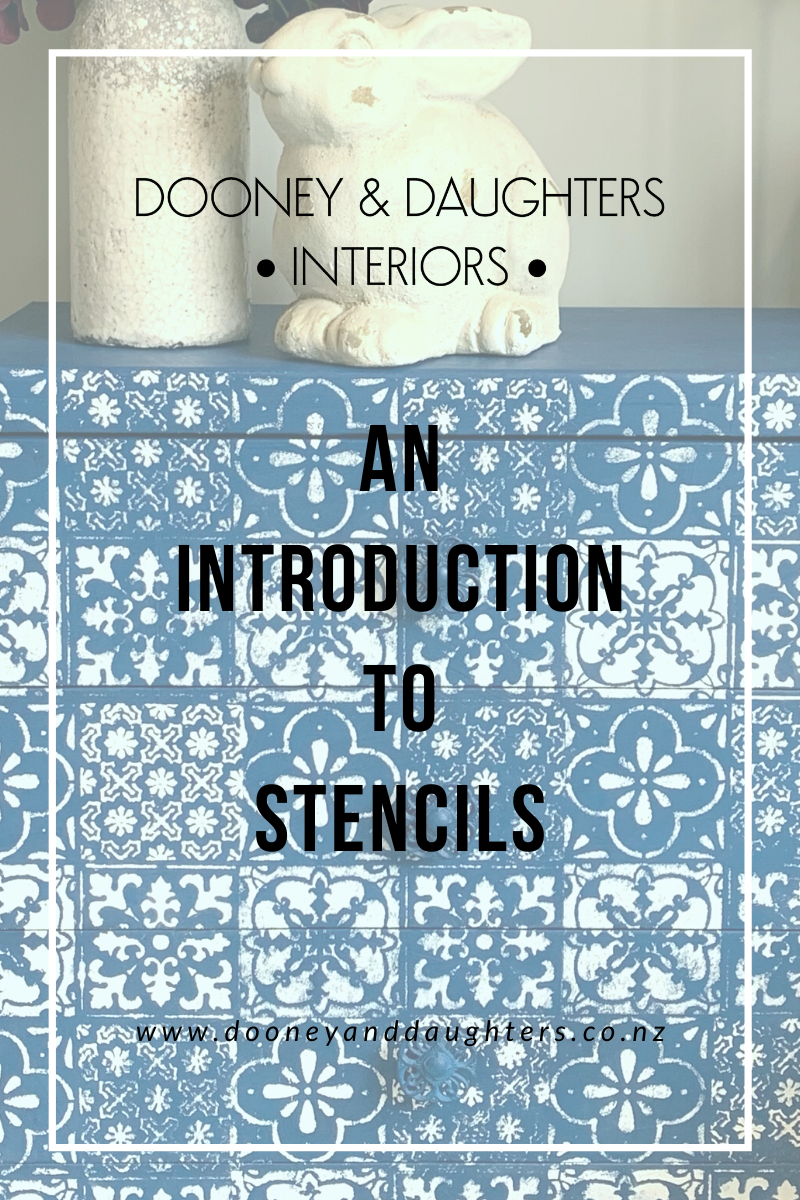
An Introduction to Stencils
This week we worked on a large stencil project as a display piece for the shop and thought we'd give a bit of an introduction to stencilling, the different types of stencils and different tools that you can use.
What is stencilling?
Stencilling is a way to paint a design onto a surface using a template, aka a stencil. Using negative space, the paint will only go through the gaps to create the image.
It's an easy and cost effective way to transform a piece of furniture, home decor or even a wall or floor!

Are there different types of stencils?
Yes, there are a few different types of stencils. Some are designed for beginners or for a more flawless finish and others are designed to work well for different techniques. But in general all stencils can be used in the traditional techniques.
- Standard stencil - these come in different sizes to suit different projects and are the most common form of stencil.
- Thick stencil - these can be used as a standard stencil but are also designed for raised stencilling using a 3D fibre paste.
- Silk Screen stencils - these have a sticky back so they stick to your project and don't slip. Because of this they are designed to give a more flawless finish.
- Stick & Style stencils - similar to the silk screen stencils, they also have a sticky back but come in a roll with a continuous design.
What is the difference between a complete and continuous design?
A complete design is a stand alone design with defined edges. A good example of this is a word or letter.
A continuous design is one that is open ended and can be repeated. Geometric and damask designs are common examples of this. The Stick & Style stencils are all continuous designs.
What is raised stencilling?
Raised stencils are a great way to add depth and interest to a project. Using 3D fibre paste and a spread pal, use a thick stencil (don't use one with a sticky back) to created a raised surface. You can then paint over it or highlight it with gilding wax.

What is the easiest way to stencil? And are there any special tools?
From lots of practice we have found a dabbing brush to be the easiest way to apply paint to a stencil! Dabbing brushes have flat heads which spreads the paint out evenly without it bleeding under the edge of your stencil.
Dab with different amounts of paint for a more rustic finish or do a few layers of paint to a get a more defined look.
Facebook Live
Watch our Facebook Live to see what the stencils and tools look like.
Further Training
Make sure to check out our other training posts on our blog, all can be searched by 'category'.

