Tuscan Paint Finish Step-by-Step
In this blog post we'll talk you through how to achieve a classic Tuscan inspired paint finish using premium chalk paint.
In this step-by-step guide, we will break down the steps we took with accompanying photos. We hope this guide inspires you to try some different techniques using premium chalk paint.

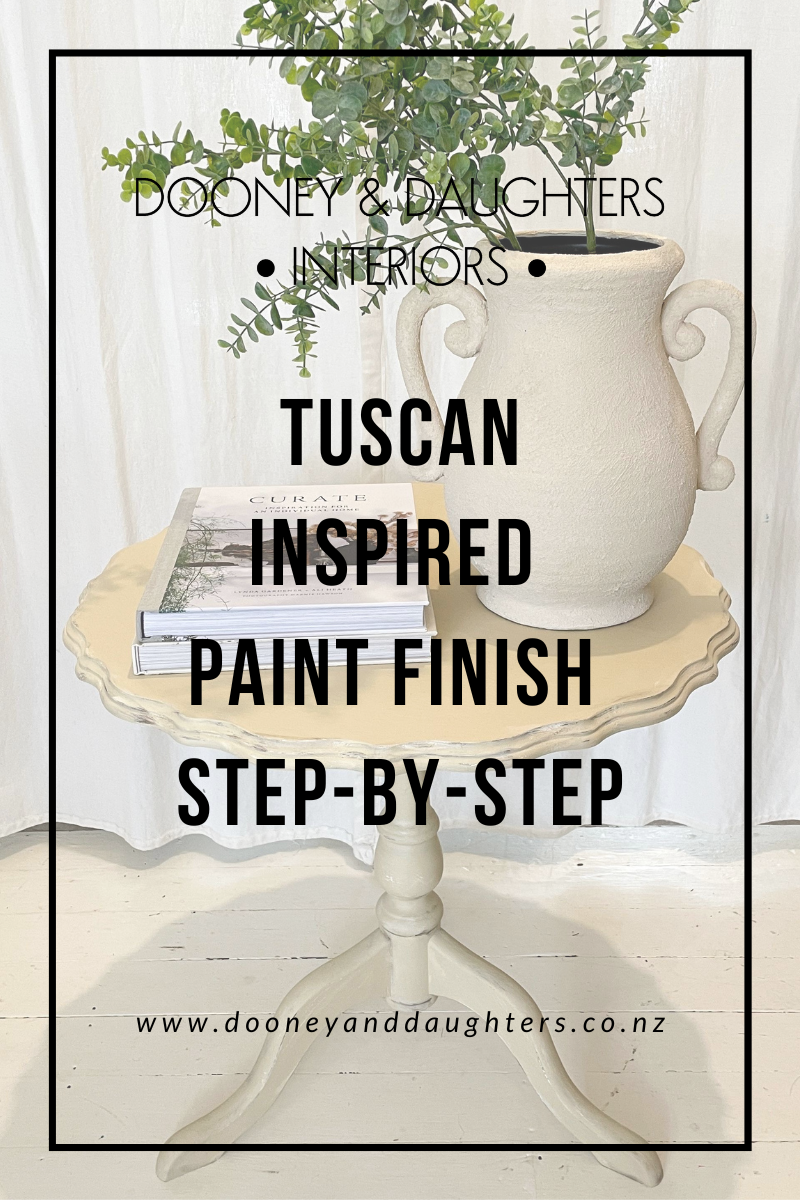
For this Tuscan inspired paint finish we have used Burmese, a wonderfully warm cream, with layers of Wild Tusk white and Old Espresso brown. By layering in different ways we have created age and patina, allowing the updated side table to look as though it has been found in a Tuscan villa.
Step One.
Paint in Wild Tusk, a warm white, using the pro-hybrid round brush. For this finish we want lots of texture so that it can come through our top layer when sanded back. Paint in all directions and stipple to create texture. You want to paint for full coverage in this base layer.

Step Two.
Using your pro-hybrid round brush again, paint Old Espresso, a deep brown, around edges and feet. This layer will give age and patina when sanded back. We want the contrast of the Wild Tusk white and Old Espresso brown to come through our top layer.
Step Three.
Paint all over in Burmese, a warm cream, using your pro-hybrid round brush. We already have texture underneath so paint in all directions for coverage. Don't worry if you don't get full coverage around feet and edges as you will be sanding these back.

Step Four.
Using your 240 grit sandpaper, gently sand back your top layer to reveal the Wild Tusk white and Old Espresso brown that are underneath. Sand back as little or as much as you would like, focusing areas that would naturally wear like feet and edges.
Step Five.
Using your pro-hybrid round brush, lightly brush on more Burmese to cover areas where you have sanded more off than you want. Do as much or as little as you want until you're happy with the overall colour.
Step Six.
Using the angled detail brush, lightly dry brush your Wild Tusk white and Old Espresso brown to areas that need more patina and layers. Slowly build up the colour to get different depths and layers. This will give a different look to the original sanded back layers, giving an overall appearance of age.

Step Seven.
When you are happy with your layers and colours, seal all over with clear wax. Brush on with the natural bristle brush and wipe back excess wax with a lint-free white rag. Once waxed, you are all finished!

Products Used:
- Wild Tusk Chalk Paint
- Old Espresso Chalk Paint
- Burmese Chalk Paint
- Clear Wax
- Staalmeester Pro-Hybrid Round Brush
- Staalmeester Angled Detail Brush
- Staalmeester Natural Bristle Brush
- 240 Grit Sandpaper
- Premium White Lint-Free Rags