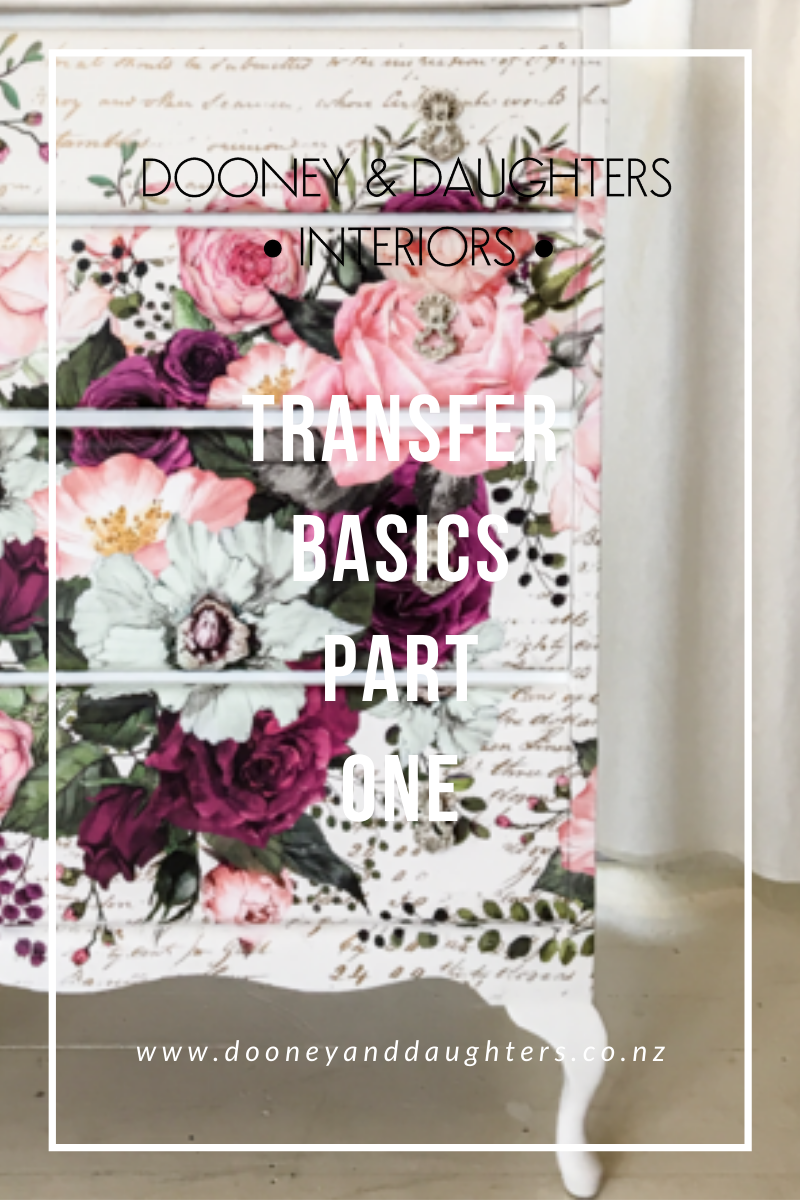
Transfer Basics: Part 1
In this training video we explain how to use the ReDesign rub-on transfers.
They're a lot of fun, super simple to use and are a great way to add interest and impact to your furniture or décor project!
What are rub-on transfers?
Designed to be used on most surfaces. Décor transfers are easy to use rub-on transfers that release onto a wide variety of surfaces allowing for a multitude of décor, furniture and multi-media uses. Simply peel, rub-on and transfer!
Are there different sizes?
We have two different sizes in our rub-on transfers.
Extra-large transfers - these are mostly extra-large designs that work well across the front of a chest of drawers or larger piece of furniture. These normally come in six panels that join together.
How do you use them?
- Prep your surface. Paint your finish and make sure there is no dust residue if you are sanding. Do not wax or lacquer.
- Decide on the placement of your transfer. If you are using one full design figure out where you're joins will be and what panel you will start with. If you are creating your own design, work out where you'll place the transfer before peeling the backing off.
- Peel the backing off and start transferring. Carefully lay your transfer down once the back has been peeled off and, using the transfer stick or tool, rub in all directions so the transfer adheres to the painted surface.
- Gently peel the top layer off. Make sure to check that the transfer has adhered, if it hasn't, lay the top layer back down and keep rubbing. Continue until it has fully adhered.
- Repeat until your transfer is fully on.
- Gently rub your fingers over the transfer to make sure that all edges are down and that there are no bubbles.
- Seal your transfer. Seal it with wax or lacquer as you would the rest of your chalk painted surface.

Tips and Tricks:
- If you're doing an extra-large transfer, use painters tape to hold the panel in place while you are rubbing it on.
- You can layer your transfers on top of each other. If it isn't layering easily, lightly sand the bottom transfer to 'key' it and remove all dust before trying again.
- If you're placing your transfer over drawers, rub it on and then very gently cut out the drawers with a stanley knife or blade. Don't 'drag' your blade though as this can cause it to gather, instead, 'press' your blade in to separate the transfer and then press it down with your fingers.
- You can use the rub-on transfers on wood, glass and walls too. Make sure it is a clean surface and when transferring to wood, make sure to seal it after with wax or lacquer.
Facebook Live
Watch our Facebook Live video where we showed the different types of transfers and how to use them.
Further Training
Make sure to check out our other training posts on our blog, all can be searched by 'category'.


